Lab 8:Inverse Kinematics


Exercise 1

Build an animation of a basketball player preparing for a throw.
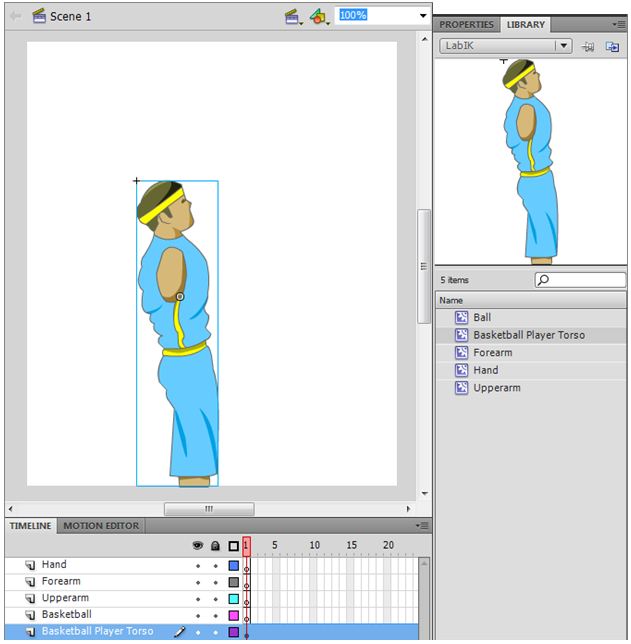
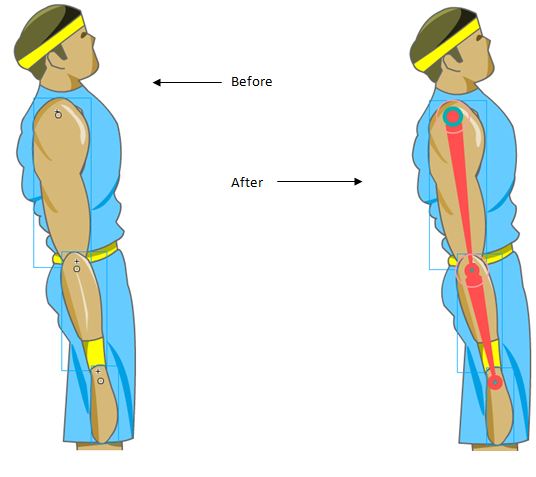
Inverse Kinematics (IK) allows us string up a character, or artwork, like a marionette. When you pull a connected symbols, the character, or artwork, responds as a whole. 
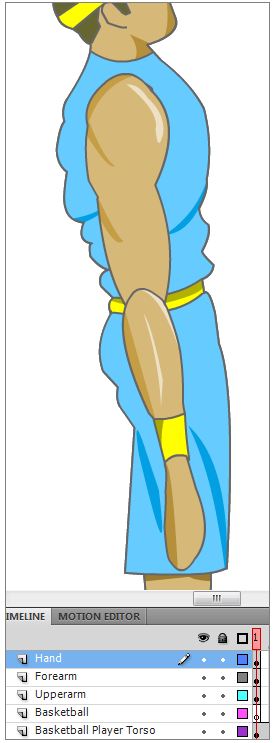
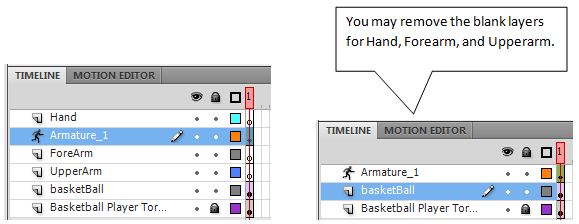
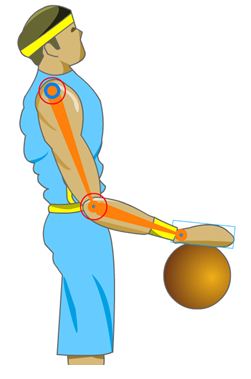
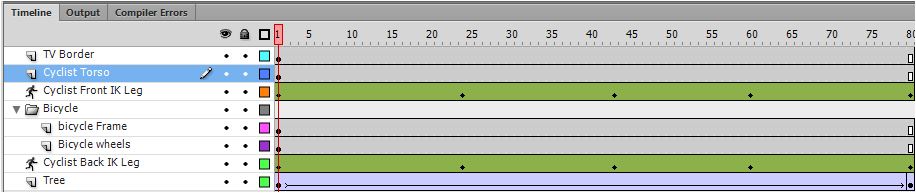
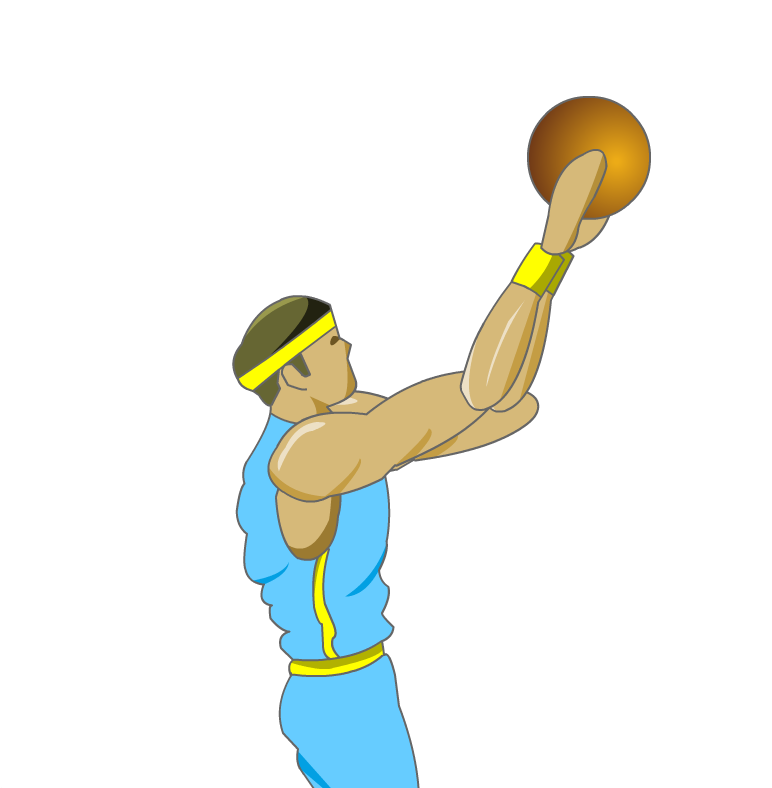
In this exercise you will use IK to make a pose-able model, and then animate it. Specifically you will constructe an animated basketball player using an armature (skeleton) 
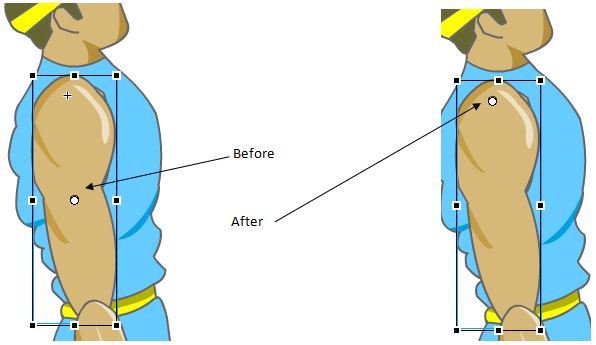
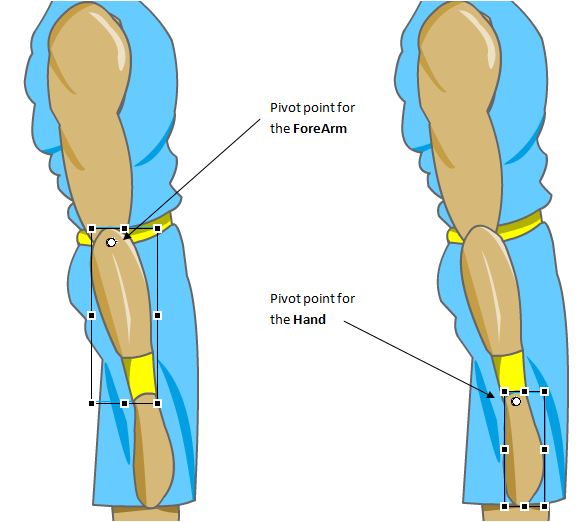
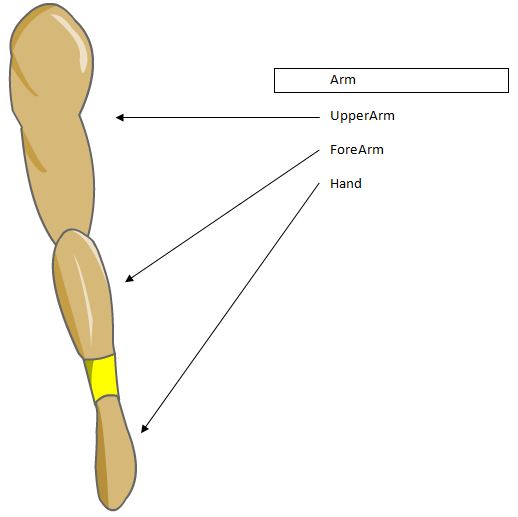
populated with "bones". A bone is single element that represents a part of the anatomy in the larger skeleton. For example, the figure below shows three bones that make of the armature representing an arm.

Step 1: Constructing the basketball player's arm and assembling the bone armature


  1. Begin by downloading the LabIK.fla file. The MovieClips representing the arm are stored in the file. LabIK.fla
  2. Load the movie and examine the Library symbols and the Timeline. Verify that your loaded movie contains Library symbols for Forearm, Hand, and Upperarm, and that your timeline looks similar to the one in the image shown above.
  3. Add the Upperarm, Forearm, and Hand Movieclip symbols to the proper layers in the stage timeline. Position them so that you have a well connected arm. Use the image below to guide you. Once you're done, verify the relevant components appear in the timeline and on stage.
  4. The components, or bones, representing the arm, will need to pivot around a hinge. In this task, you will identify where the pivot points will be for the Upperarm, Forearm, and the Hand. Using the Transform tool, reposition the pivot point for the Upperarm according to the image below.
  5. Use the image below to guide you in repositioning the pivot points for the Forearm, and Hand.
  6. In this task, you will construct the "Bone" Armiture representing the player's arm. Begin by selecting the Bone Tool.
  7. Starting with the UpperArm, stretch a "bone" from the Upperarm pivot point to the Forearm pivot point, and then from the Forearm pivot point to the Hand pivot point. After completing this step, verify that your stage looks similar to the figure below. Note that color for the bones may vary. Do not worry about this.
  8. You should note that a new layer has been added to your Timeline. This layer, called Armature_1, contains all the bone elements that can be posed.


Step 2: Construct poses for the basketball player

  1. Now that you are ready to construct poses for your animation, we will start with the first pose. Using the Selection tool, drag the Hand and position it as shown in the figure below. The armature will control the movement of the Upperarm and the Forearm.
  2. More poses need to be created. To create a new pose in frame 5 of the armature_1 layer, right-click frame 5 and select Insert Pose. Now, alter the pose as shown in the figure below.
  3. Add animation to the basketball by applying a new keyframe and classic tween so that the ball moves towards the floor.
  4. Continue adding more poses, and exploring the armature’s range, up to frame 91.
  5. Save and test your movie.
  6. Build the second IK arm for the basketballpPlayer.


Exercise 2

Construct an animated the cyclist. The landscape should change naturally.
Use the following timeline as your guide.